Before we get started, you can find the card template as a download in my Etsy shop here. Buy once, print as many times as you'd like on any paper you desire! To show you how great the colors appear on a variety of papers, I've used both a bright white 110 lb. cardstock and a kraft speckle tone cardstock with great success.
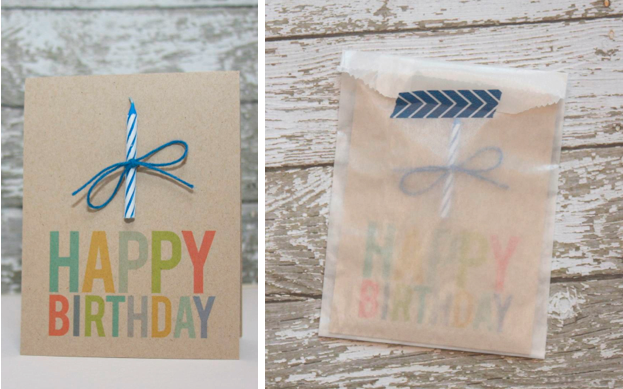
AND ONE TO GROW ON
- Print, Trim, Score and Fold Card
- Place Candle on Front of Card
- Pierce Card on Each Side of Candle
- Thread Baker's Twine through Holes + Tie Bow
- Write Your Birthday Wishes
ROUND AND ROUND
- Print, Trim, Score and Fold Card
- Punch 2" Circle and three 1.50" Circles from Your Favorite Cardstock
- Score and Fold in Half the Three 1.50" Circles
- Adhere Circles Together then Adhere to Card Front
- Round Bottom Corners of Card
- Write Your Birthday Wishes and insert inside Kraft Bag
DIE CUTS AND YOU
- Print, Trim, Score and Fold Card
- Search your Stash for A Few Cute Die Cut Stickers
- Adhere to Card Front
- Round Bottom Corners of Card
- Write Your Birthday Wishes and insert inside Gray Vellum Envelope
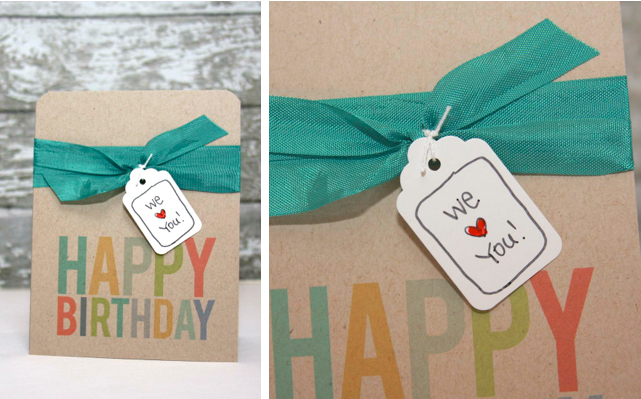
ALL WRAPPED UP
MAKING A NEGATIVE A POSITIVE
- Print, Trim, Score and Fold Card
- Choose the Negative {or Positive} from your Letter Chipboard Stash
- Adhere Chipboard Letter to Card Front
- Write Your Birthday Wishes and tuck inside your Glassine Bag
AND A FEW NOTES
This clean and simple design works on so many levels...for your favorite Teacher, co-worker, gal pal, guy friend and for all those birthday parties the kids get invited to. Take it even one step further, and make a set to give as gifts...who couldn't use a secret stash of birthday cards, right?
Find more card making inspiration here:
World's Best Mom Card Download
Everyday Card Download


Hi Monika,
ReplyDeleteThis is a fantastic post!
You should submit to some of the card-making sites.
Here's a link to Less is More Card Challenge:http://simplylessismoore.blogspot.ca
Great to hear Zach is home.
One day I'll get back to blogging:)
Love this Monika. Thanks so much. I will use these for my students this year! :)
ReplyDeletei love them. they are perfect to personalize for everyone.
ReplyDeleteAdorable! I made one for a 1st birthday today! Thank you!!! Such a great idea!
ReplyDeleteYippee, so glad you were able to use the download!
Delete