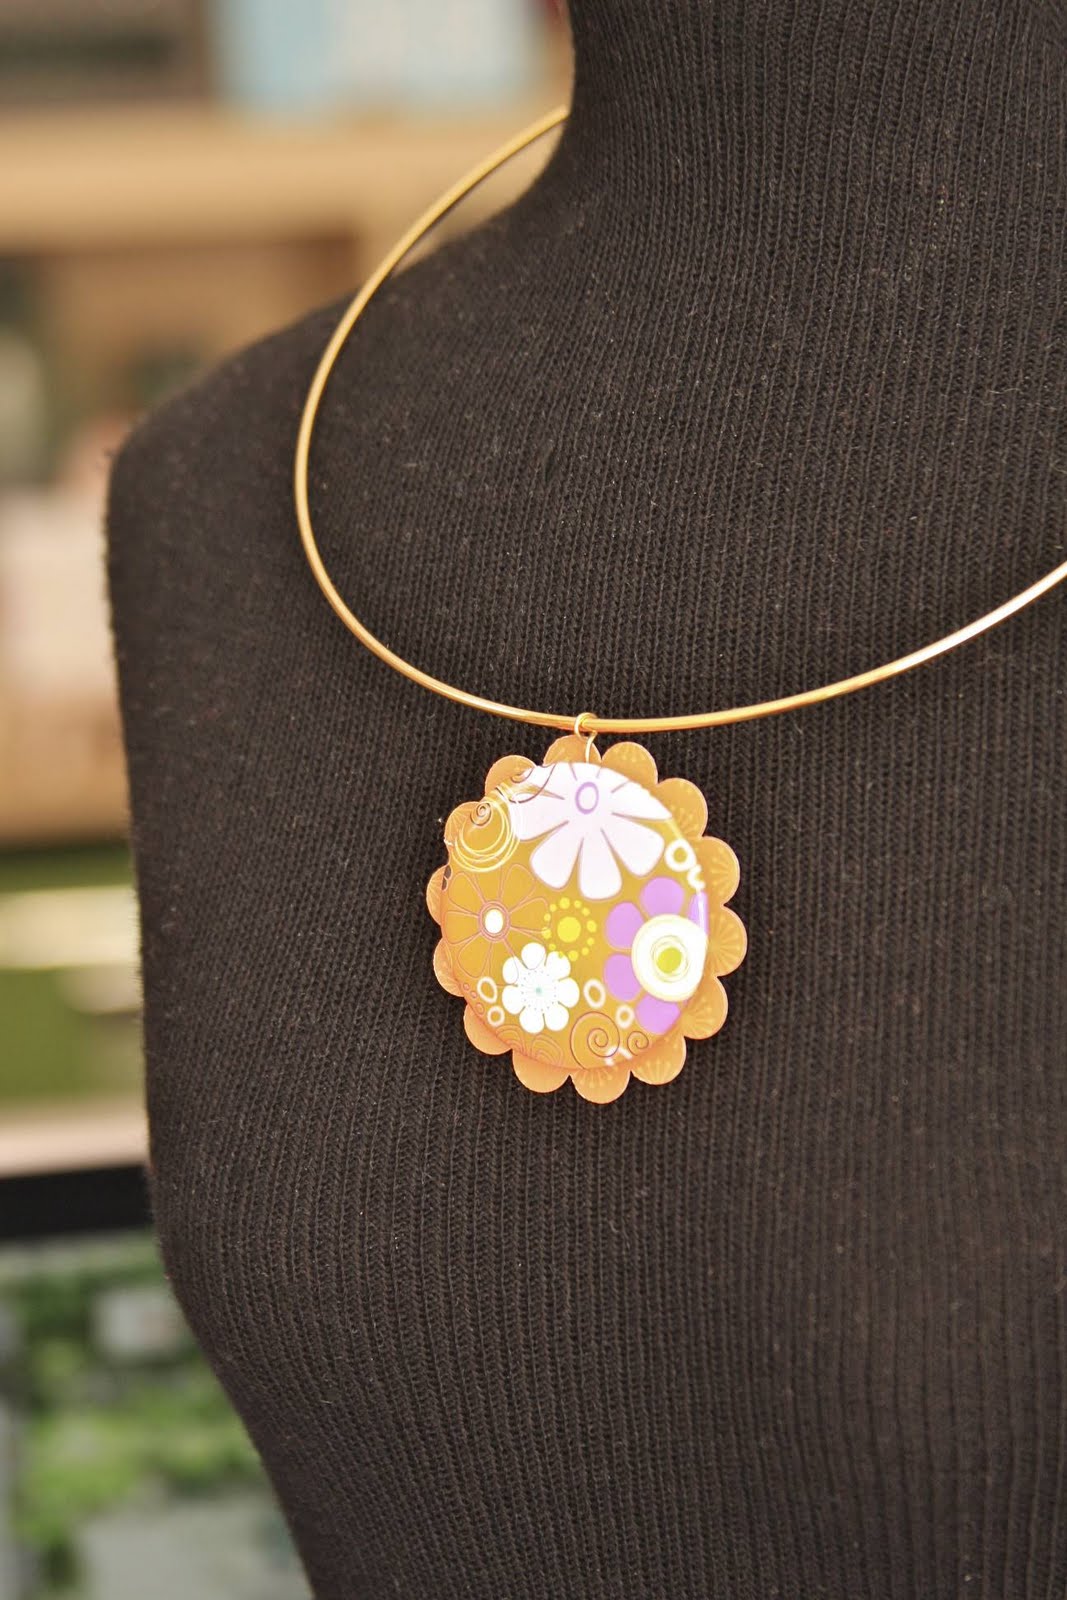
Using the Kaleidoscope 5x7 Cardstock Pad, I punched a scallop shape to back my Flair button necklace with, as you see above. The darling button, which is actually sticky backed, also comes from the Kaleidoscope collection and can be found in the Flair Pack.
With some DIY jewelry supplies and E6000 glue to hold the pin more securely on the back of the Flair Pack button, I backed the Flair button with more cute paper from the Kaleidoscope collection. If you prefer not having a contrasting paper design behind your Flair button, just use a smaller punched circle instead. To make the necklaces a bit more kid-friendly, I made one for my oldest daughter using some gold-toned stretch string, also found in the jewelry making section of your local hobby store.
Trim the metallic bead cord to your desired length and knot. So easy for grade-schoolers to as they get ready in the morning. By the way, I'm not ready for my 3rd grader to be interested in accessorizing her outfits yet....whoa, hold on.


No comments
paper. art. love. | since 2010
Gratitude Journals + Mini Books, Embellishment Kits + Supplies, Midori Notebooks and Printables at www.iloveitall.etsy.com