52Photos :: two


my 52Photos capture


Gordon came home with this iPad2 the day after my birthday. Hmmm. Our theme this week is two, soooooo...I snapped a pic as I was getting ready to install the programming and get it up and running. Wonder if, a year from now, it will still be the iPad2 or some newer version?

Edited to Add: Don't know what happened to that photo, so I quickly snapped a photo this morning. Screen Saver pic is from our Hilton Head, SC trip in 2006.

next week's theme

stripe


the wrap-up

Last minute photos count too, don't they? And we're at 115 members in our lovely little group.

If you're new to 52Photos, go here for an explanation, a blog button and an invitation to join our 52 week journey of discovery!


date night

I think I've mentioned my new found love of kraft, mixed papers, vintage book pages and sewing haven't I? I know I referenced it in my last newsletter {did you get yours?}. If you aren't getting my newsletter, where I share free downloads as well as Etsy shop updates and coupon codes, you can sign up in the sidebar.

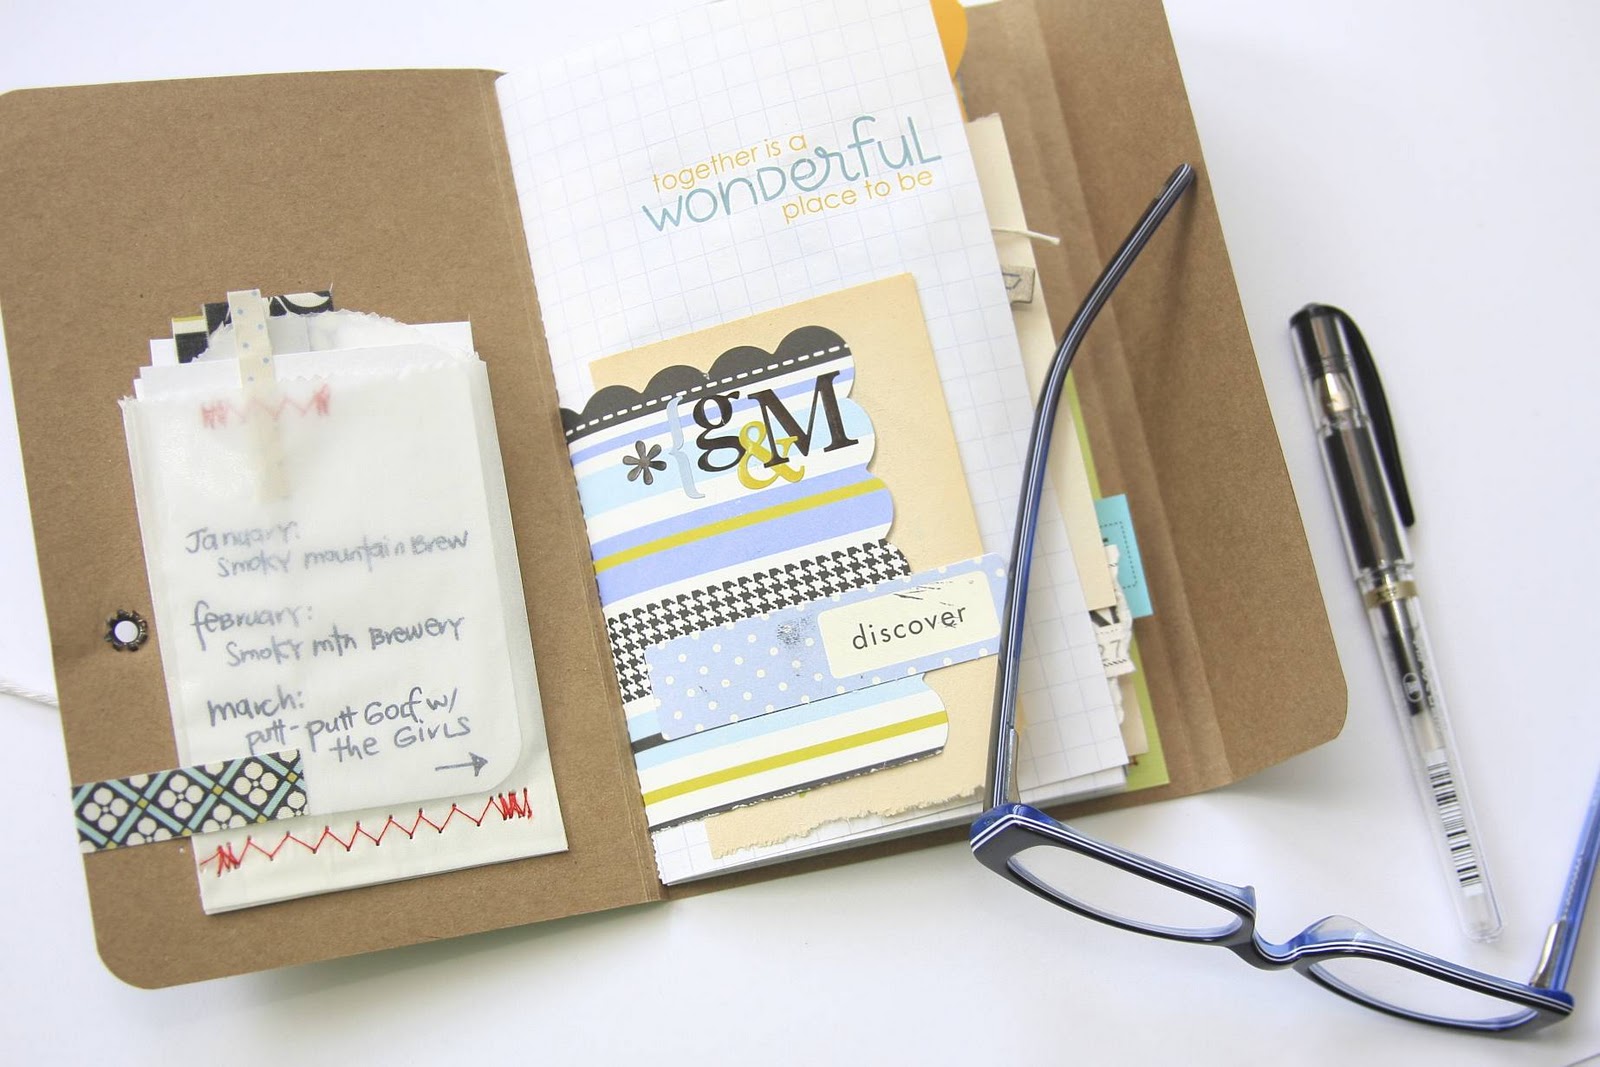
Last year {Christmas 2009}, I made a Date Night journal. It was a Christmas gift for Gordon...I coordinated having Nana and Oma take alternate months to babysit as well as new eateries, and old favorites, for us to dine at. We never really did stick to the restaurant plan, so it became a joke between us. What's the plan? OH, oooooookay let's eat somewhere else.

When all the gifts had been opened on Christmas morning 2010, Gordon looked at me and asked where his Date Night present was? Hmmmm. Don't worry, in the meantime I've planned our Date Nights and the babysitting by Oma and Nana. But, I had no journal to Why? Much more fun to make that decision while we're in the car driving into Knoxville.

{Insert lightbulb going off in Monika's head.}

Here's what I'm using:

Date Night Journal | Monika Wright
edited to add: these are sold out, but here's a similar Date Night mini book

I've saved tickets and tags and memorabilia and memories. All I needed was a place to put my collection of goodies and a place to record my thoughts. LOVE me some mini albums.

Date Night Journal | Monika Wright
 a glassine envelope full of extra embellishments is included with your purchase

Date Night Journal | Monika Wright
 the 3 journaling cards are included, but I added my own rub-on, letter stickers and discover tab

Date Night Journal | Monika Wright
 added my own chipboard "w" and tied it to the shipping tag with the attached twine

Date Night Journal | Monika Wright
 nothing here yet, hoping to add a photo of Gordon and I ---> see the heart peeking out over the right edge of the page?

the scallop shape is the negative of the punched shape I added to the menu down below | raffle ticket

Date Night Journal | Monika Wright
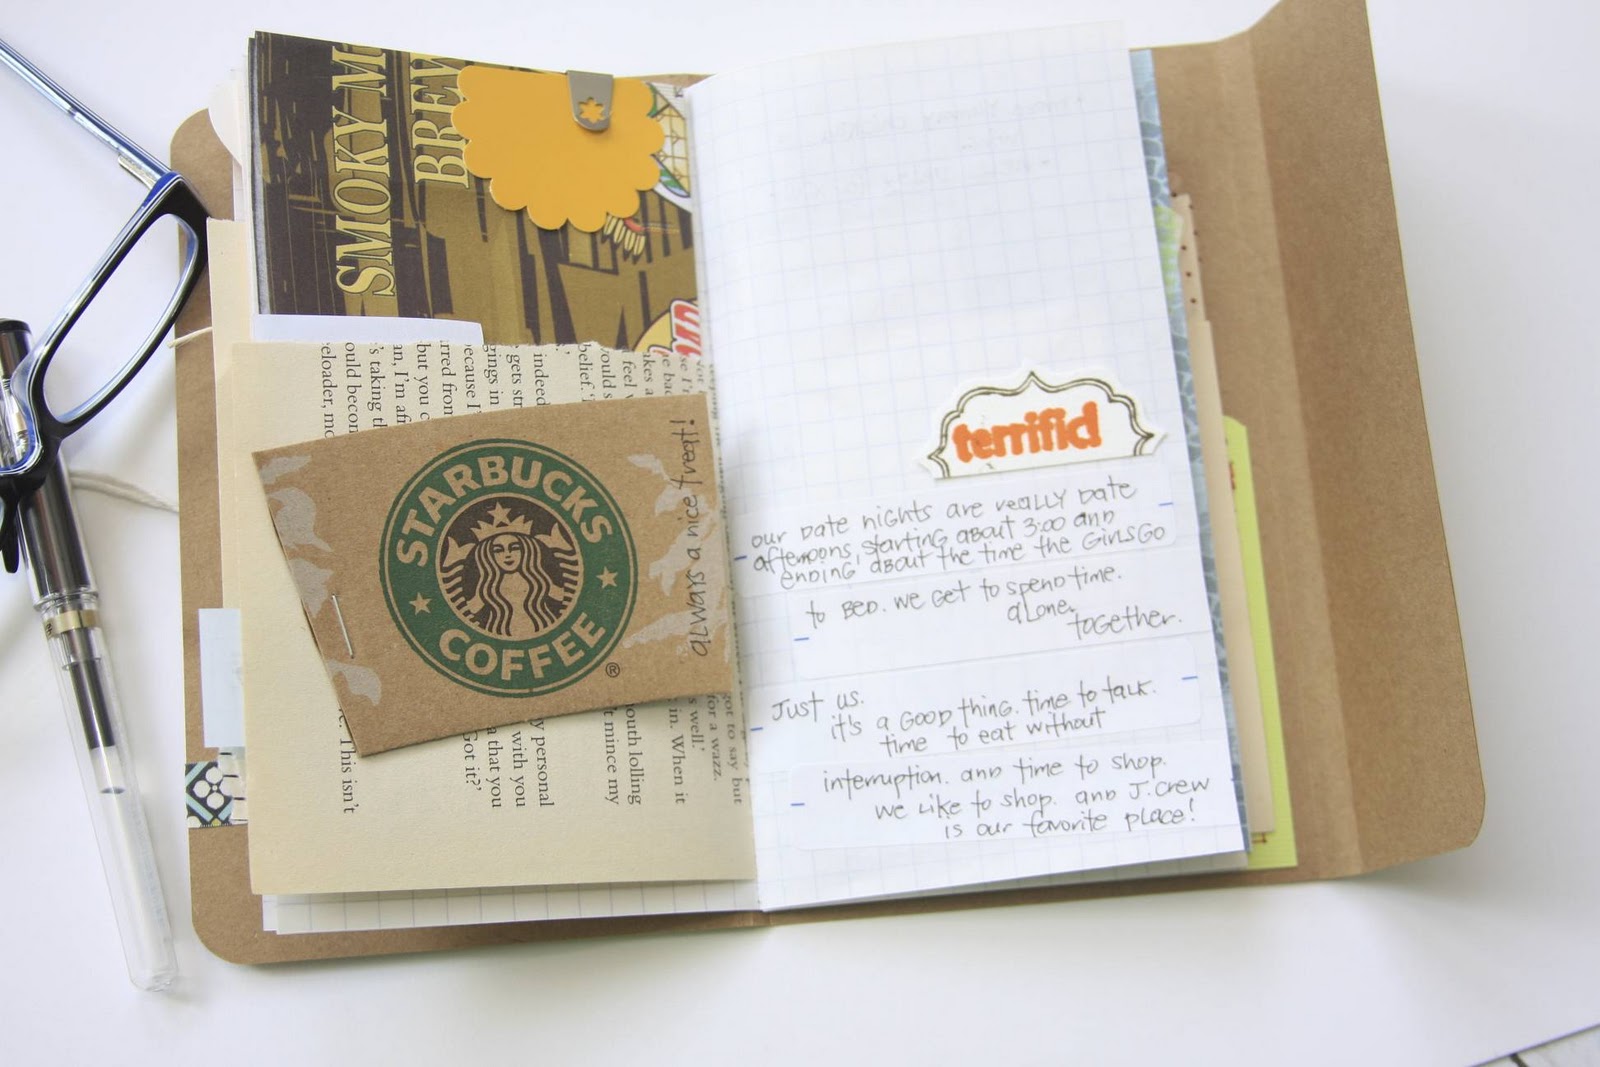
 special after-dinner treat | Starbucks
not sure I'll add anything else to the right page, may leave the white space as is

Date Night Journal | Monika Wright
 used the heart-punched shape up above and the negative here | washi tape "holding" the coaster in place

Date Night Journal | Monika Wright
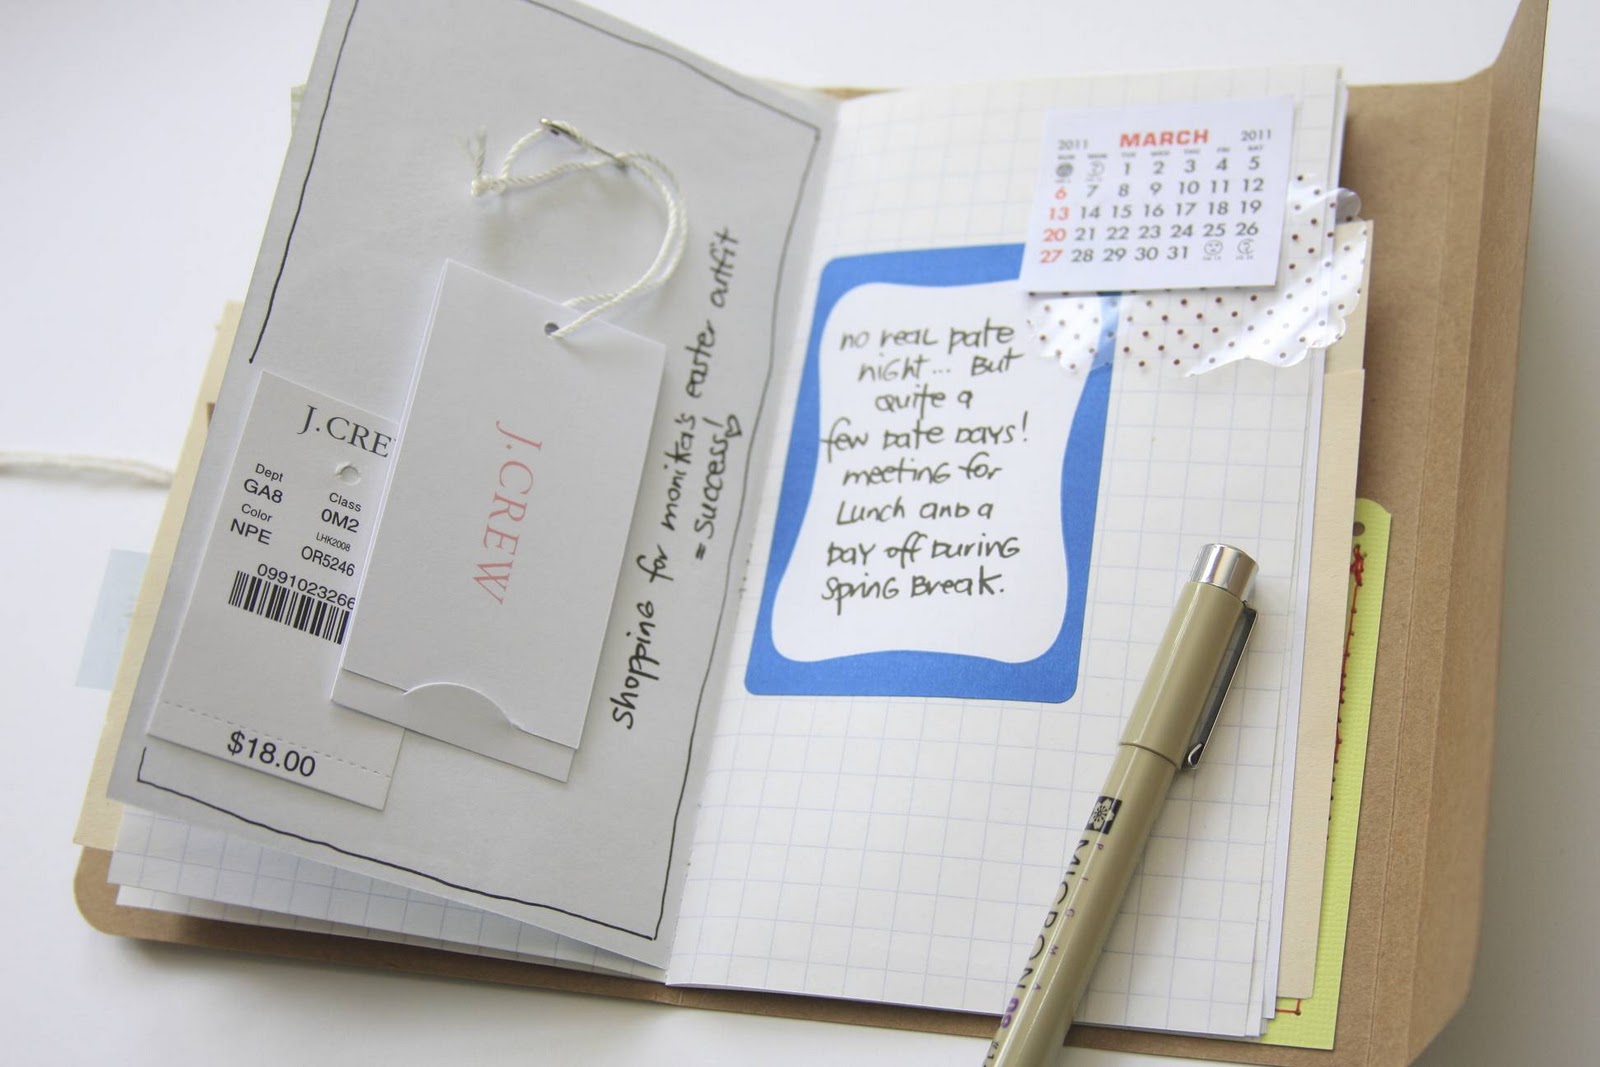
 using this mailing label, journaled not having a March Date Night | to add: photo of  putt-putt adventure with the girls

Date Night Journal | Monika Wright
using the large glassine envelopes now available, I'm keeping all my embellies in one place

I'll add some personal thoughts {which I'm not sharing here} about our dates to the January - March pages and will keep adding to this throughout the year. I'll share more updates with you as I create my pages. If you have any questions, just leave it in the comments or contact me personally.

Here are some newer versions of this mini book if you'd like to document your own Date Nights this year! Or anything really. And I'm always happy to construct custom mini-albums to suit your tastes and needs. What would you use this mini-album for?

Edited to Add: The mini's are sold out, but here's a similar Date Night mini book.

and the winner is...

...me! Thank you all for your sweet wishes here on the blog and on Facebook as well. I was smiling all day long. I heard from scrappy friends as far away as Sweden, France, Canada and Australia and as close as Kentucky, Ohio and California. My cousins and second cousins in Germany, my brother-in-law {just 15 minutes away} and Zach's best bud from High School all sent Facebook messages. There was a wonderful home-cooked {German} meal at Mom's last night with the whole family in attendance, which is always a good thing. 

But, really, the winner of the giveaway {the tags I made for the write.click.scrapbook. Gallery this month}  is...

Jenny, contact me with your mailing address and your fun tags will be on their way to you!

Again, thanks to all of you for your well wishes. They all put a smile on my face. And here are a few photos that Zach took last night at Oma's house. He says that we never have photos of Mom, so he decided to snap a few. Eyes closed, mouth open...but at least I'm in the shot, right?

happy birthday...

...to me! Yes, today I'm lucky enough to be celebrating another year and I hope to make this one my best YET.


How about this...a free download. Now you can refill your birthday card stash and never be caught unprepared! I think with the colors I chose for this design, it can go either masculine or feminine, but I'll let you decide.

It's a 4x6 download. I know a lot of people don't have their own color printers at home, so this way you can upload it and print it as a 4x6 photograph, if that's the way you roll. Wait for some of those really great coupon codes and get bunches printed at once and then sit down and make a ton of cards. I used 60 lb. smooth cardstock to print mine. Find the download above, in the menu bar or in the Downloads section of my sidebar.

You can trim it to place on the front of a card like these:

Trim the 4x6 to fit on the front of a card blank, round two corners and adhere.


Or put it on the birthday person's memo board at work, as a surprise:


It would also be nice to stick on the mirror, don't you think, so it's the first thing the birthday person sees when they wake up:


It can even be framed, just because you can, or hang it in your craft room because the happy colors make you smile and it's your own special day! Find the download at the top of this post, in the menu bar or in the Downloads section of my sidebar.


Only three more years before I hit the 5-oh, so I'm gonna make 'em good ones!

procrastination?

In place of Sunday Photos, I am hosting a giveaway, just to mix it up a bit and to reward those faithful souls that visit with me each day...

Whew! The inspiration collective at Write.Click.Scrapbook. can actually say, "Done, Finally," which is the theme of this month's Gallery. Obviously, I wasn't the only one on the team that had projects that they really wanted to finish but just hadn't gotten 'round to!

This is what inspired me:

Embellished Shipping Tags | iloveitallwithmonikawright.com

This is what I used to embellish the shipping tags:

Embellished Shipping Tags | iloveitallwithmonikawright.com

And this is what resulted:

Embellished Shipping Tags | iloveitallwithmonikawright.com

I used all the scraps that I trim from prints in my Etsy shop {I knew there would be a use for these one day} and put them to good use. They just happened to be pretty close to the size of a manila shipping tag, so I used those measurements as a guide and then trimmed them using a corner punch from Stampin' Up as well as a ton of the cutest baker's twine ever from The Twinery

Then, I pulled out all my paper scraps and stray embellishments and, using my Mom's old Singer sewing machine, I attached most of the elements on the shipping tags with it. I wasn't concerned about perfection or matching the thread to each tag's paper scraps...most people will just throw the tag away - it's not a work of art, ya know?

Embellished Shipping Tags | iloveitallwithmonikawright.com

Won't these be great to have on hand to use as lunchbox/backpack notes? Or gift bag embellishments? Or you could attach a gift card to them and insert into a greeting card.

So, what projects do you have laying around that need to be finished up? Leave me a comment, or two, or three, telling me what's on your crafty TO DO list and you'll be entered into a drawing to win 6 tags I created for this month's Gallery, as well as blank shipping tags I've trimmed for you, some paper and embellishment scraps AND a sampling of baker's twine from The Twinery. You'll be all set to create your own shipping tags.

This giveaway ends tonight at 8pm EST. Good luck!

card making 101

Are you a scrapbooker? Are you always scrambling for a greeting card at the last moment, but you're the one with all the pretty paper and embellishments and ribbons and every type of adhesive imaginable? Yeah, me too! Go figure.


I created this card using a sketch contributed by Valerie Mangan, who also happens to be one of my Ella Publishing Design Team Friends, during Emily Pitts' hosting gig at Write.Click.Scrapbook. She called upon talented cardmakers, each of them offering up their tips, suggestions and methods to go about creating cards. 

You'll want to check it all out, as each day Emily also has a video sharing how to create a card in 5 minutes. It's very doable, please give card making a try. During one of the videos, I spied some SRM Stickers just like the ones I used for this project

In the works...sets of cards to gift, which is all part of my 20ll blog goals and will help me to at least have one post in this third month of the year for christmas crafts x12! I need to catch up, don't I?

and the winner is...

Wow, you guys are seriously interested in capturing memories, and that makes me smile, and it makes me so happy to have read what your next projects are going to be. It was wonderful having had the opportunity to meet some new scrappy friends, thanks for stopping by and I hope you had fun hopping around to to visit with all my Ella Friends!


The winner of this new eBook by authors Elizabeth Dillow and Tina Cockburn is:


Miss Kathy, please contact me so that you can get your special {top secret} code for the newest Ella Publishing eBook and begin scrapping your everyday moments!

t-shirt turned scarf tutorial

First off, you should know...I don't follow directions. I can, but I don't. I read them and if I don't have everything I need, I don't let that stop me and I just wing it. I do this about 50% of the time and I've been lucky so far.

Case in point:


I used a tutorial that I thought I had posted from my Pinterest or from my Tumblr, but it's not there. If anyone knows who I need to credit with this idea, please let me know. The tut advised using an XL t-shirt, but I really, really wanted to use this T: I love the color and the texture and I hated that it had a stain on it. I tell you this just in case you're wondering why the scarf is a little short!

Let's begin with your favorite t-shirt {stained or unstained} and cut as many strips as you can  at approximately 2" wide.


Taking your strips into your hands and begin stretching them as wide and as far as you can get them to go. My photo shows me using my foot {you caught me in my favorite UGG house shoes, also stained, and my comfy jammie bottoms} and my hand because I was too lazy to get the tripod from our bedroom closet upstairs.


Stretching causes the T to curl and therefore won't fray. Pretty cool!


Here you see one of the 2" wide strips before stretching and the rest that have already been stretched. Love those Fiskars scissors!


See those really ugly ends where the seems meet? Hated that, so I cut them off. Love it! I hated throwing away the rest of the t-shirt, so I punched a 2" circle and 1.25" circle and traced them onto the remaining fabric. I had an idea AND I wanted something to cover up the middle seam that showed when I looped my scarf around my neck.


After cutting my circles, I stretched them which caused the to ruffle a little bit and I loved that, too! I stacked several of the 2" circles on top of one another and then 2 or 3 of the 1.25" circles on top of them. Next, I used my Crop-o-Dile to punch a hole through all layers at once...wow, I'm impressed, it worked like a dream, baby.


And then I used a brad {edited to add: I changed these smaller brads out for larger ones because they ended up getting pulled through the hole I punched. I could also have sewn them on, but  this seemed easier and I would probably do it this way again} to add a little pizazz and pushed it right through one of the t-shirt strips where the seams met.


I'm definitely on the market for some clearance t-shirts in fun colors...wouldn't they be fun in a number of different colors? My Mom loves scarves as much, or more, than I do and Isabella is becoming a fan, too. Which means that Victoria will want one of her own. Maybe I should make this my first Christmas Craft of the year!


Don't you love it when you upcycle something that would have had to be recycled and now it's a fun pieced of neck art? I do, too!

52Photos :: abstract


my 52Photos capture

Last week during a Spring Break trip to the Park, the same one that I used to take Zach to as a kidlet, I happened to find what I am going to call a nature-inspired subject for this week's theme. I didn't take my super nice camera with us, as I think the girls get tired of Mommy always taking photos and not joining in the fun. So, the shot with my iPhone it was, or is. I would have loved trying out some cool depth-of-field shots, too, with my nice camera, but... Truth be told, when I was taking these photos, I couldn't even tell so much what I was getting in the shot because of the sun glare and I didn't have my reading glasses on and I'm not used to NOT looking through the viewfinder anymore. When I downloaded them, I have to hand it to the iPhone, it took way better photos than our first point-and-shoot digital ever thought of taking. Go Mac!

Converting this photo to black and white really works for me. And just looking at this makes me think of the  memory of a nice, sunny day at the Park with my girls and enjoying it all instead of worrying about missing a good photo. Oh, yeah and the ice cream from Marble Slab afterward!

next week's theme

two

the wrap-up

This week's theme had me scratching my head, how about you? But when I saw those exposed tree roots, I just knew I had my shot. It kind of reminded me of this. Now, what about TWO?

If you're new to 52Photos, go here for an explanation, a blog button and an invitation to join our 52 week journey of discovery!


will you help?

You have heard me speak of Kristina Proffitt before, I'm sure.  A sweet gal, a blogger, a talented scrapbooker, an awesome blog designer and one happy mama...just an all around good person you wish you could meet in real life. Recently, her youngest was diagnosed with Type 1 Diabetes. 

Crystal Wilkerson, one of my fave digi designers, has designed some kits to help defray medical expenses for the family and Kristina even designed some word art herself. Be sure to visit the One Happy Mama blog to see the cute freebie that's available, too! Here's a peek of the kits, all available for as little as a $1 donation {but more would be happily accepted}.


Don't do much digi scrapping? I have used several of Crystal's papers and elements to create projects to print and trim. Do you remember these projects? Try it, you'll like it...I sure do.